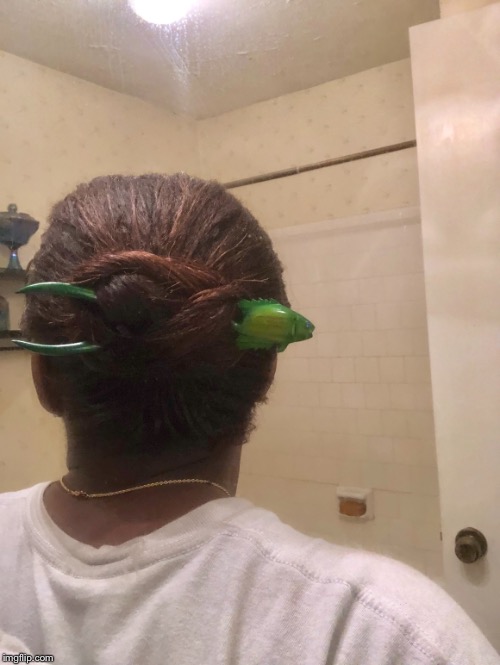
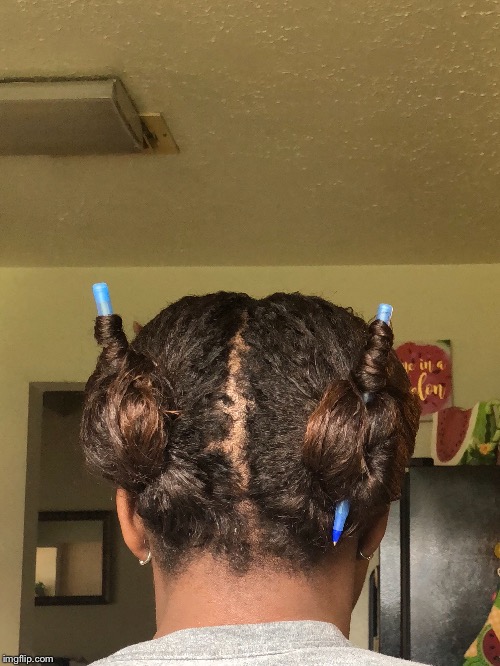
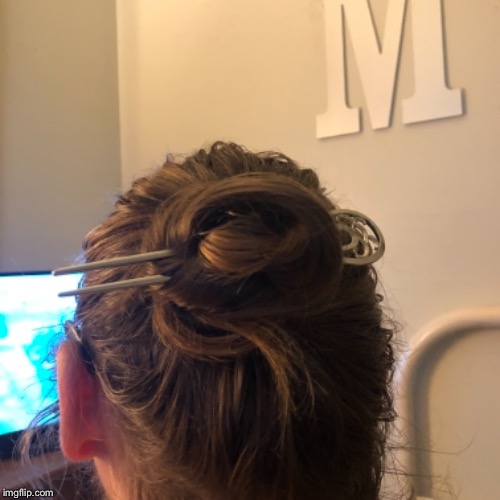
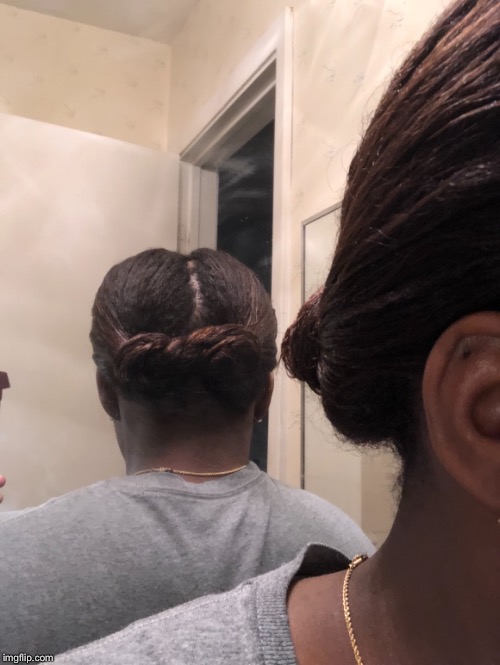
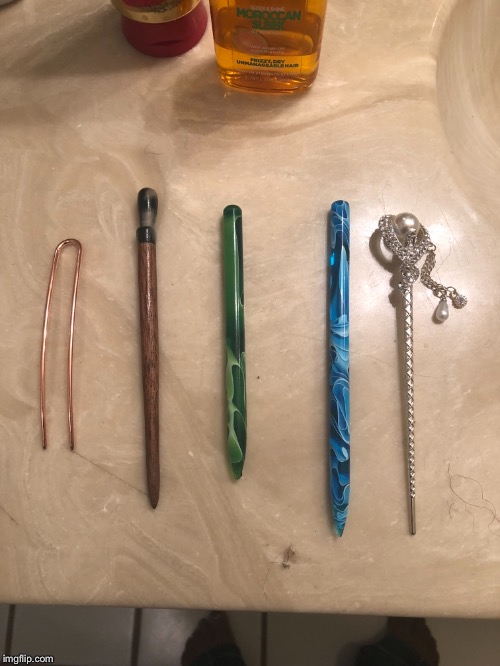
Okay so I did 4 tutorials for you guys. Two are videos since they’re the quickest and time saving buns probably ever made lol. If you need to pause and slow down the video, by all means do. Give some attention to how I place the stick because that’s whats going to allow your bun to stay in place. It’s a slight over-under maneuver, and if you need extra support you can use bobby pins if needed. Just make sure you aren’t pulling your hair too tightly at the beginning of making your buns.
This is the LWB (lazy wrap bun).
View media item 129815
Followed by the Nautilus Bun:
View media item 129817
Rose Bun:
This one is going to be picture step by step. I tried to take a small amount of pictures so it’s not too confusing.
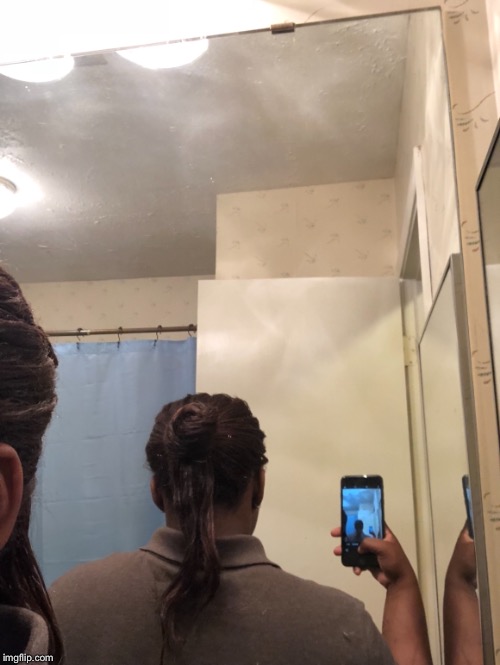
Make a ponytail. Take some hair from the sides of the ponytail. But sure they are smaller than the section that’s going to be the bun.
Make a small LWB . If you hair stays up on it’s own just tuck the ends into the bun. If your hair tends to fall due to its density you can secure it with bobby pins. Make sure to keep your tail of hair out because you are going to wrap that around the base of the LWB. So you should have something along the lines of this so far
 via Imgflip Meme Generator
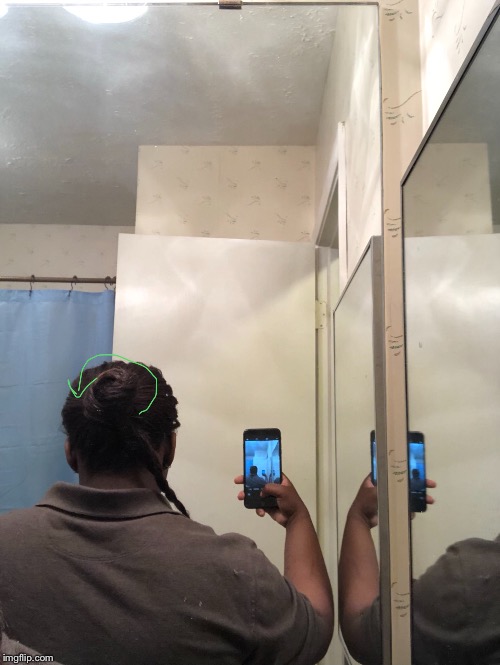
Take your tail and twist or braid it. Then wrap your tail around your bun, and secure it. If you need to use bobby pins please do. Here’s the twisted piece and what the motion should look like indicated by an arrow. You can wrap it counterclockwise or clockwise, whichever is more comfortable:
 via Imgflip Meme Generator
The braid or twisted part is what’s going to give it that swirl look like the inside of a rose.
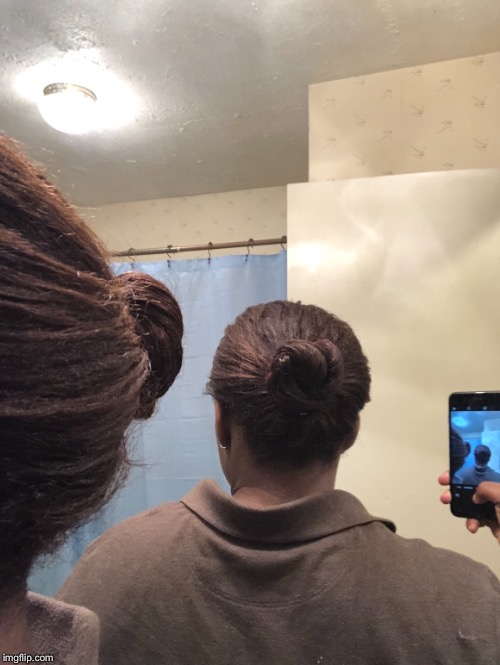 via Imgflip Meme Generator
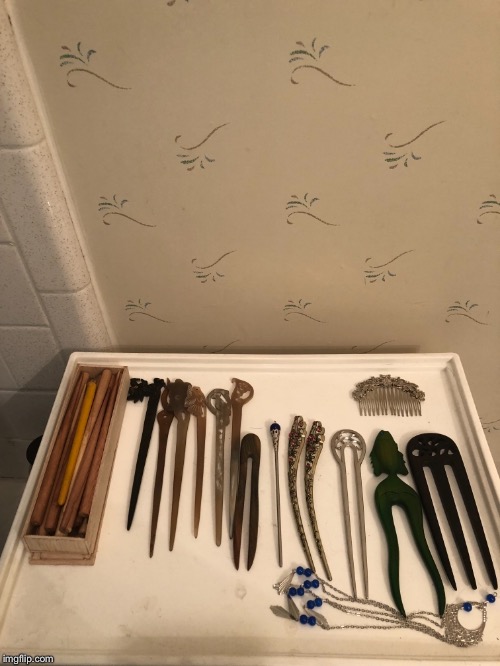
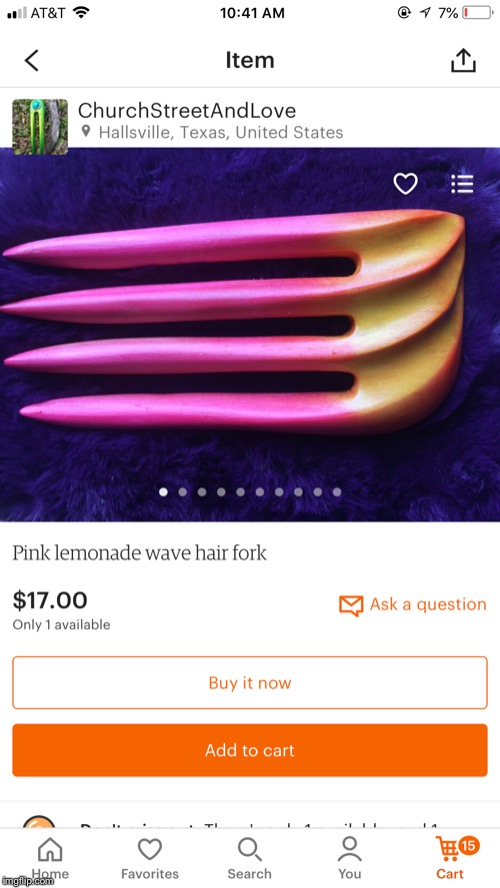
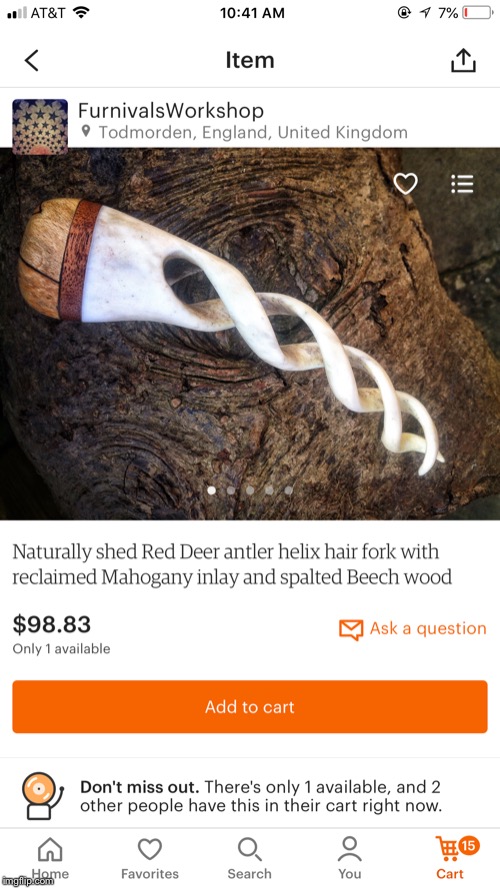
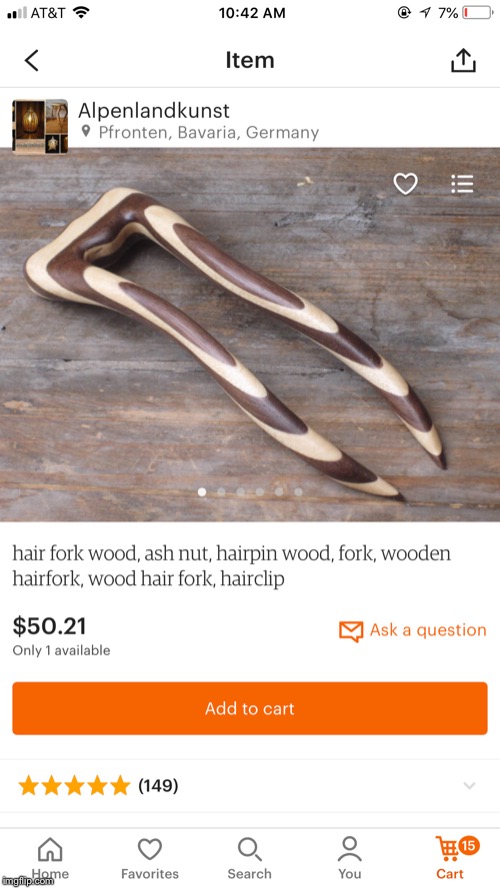
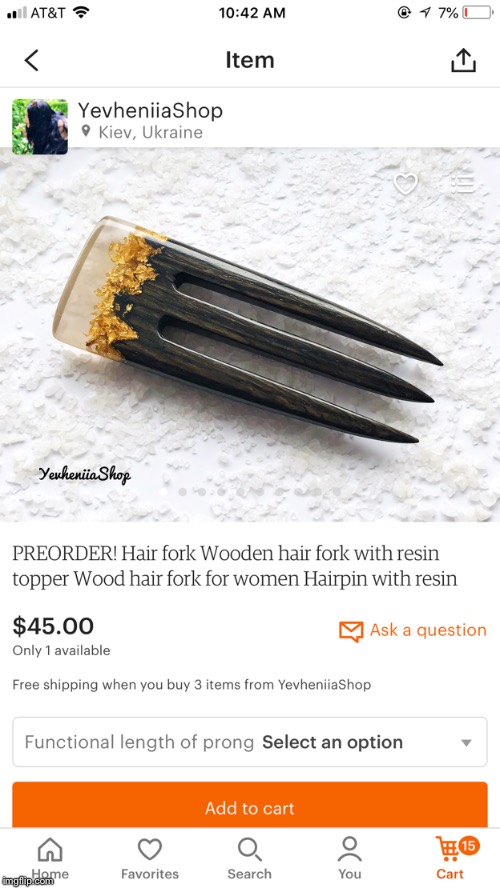
You can adorn with whatever you like. Clips, pendants, forks, etc. If you use a stick or fork, place it BEHIND the bun closest to your scalp. Just be gentle and wiggle it through so it’s not too tight, and use sticks or forks that don’t have fine teeth or are too thick because the stick or fork probably won’t budge one bit lol. Metal forks or sticks tend to be better than wood since they slide easier.
Finished product:
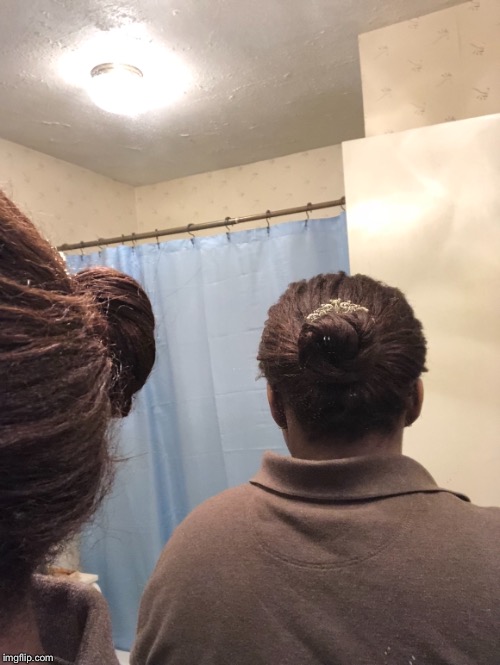 via Imgflip Meme Generator
Cameo Bun:
This bun tends to look different on straighter hair types, and the steps are a bit different, but I modified it for Afro textured hair, with less steps, so anyone can still rock this style.
Start with a ponytail where the hair hasn’t been pulled all the way through, forming a small bun:
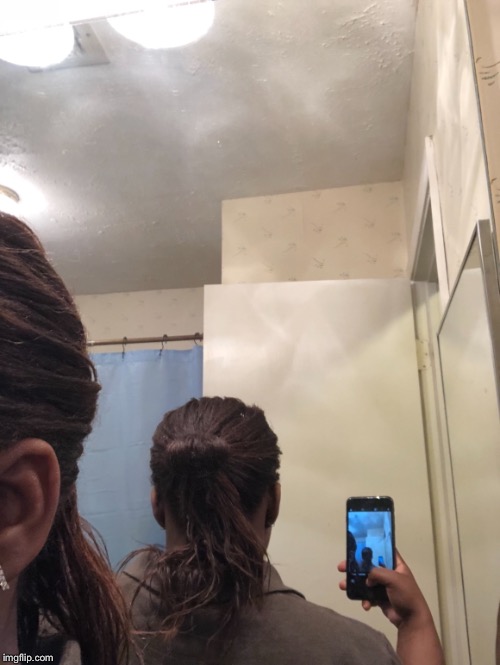 via Imgflip Meme Generator
Part the hair that’s forming your tail at the bottom. You should have two parts like this:
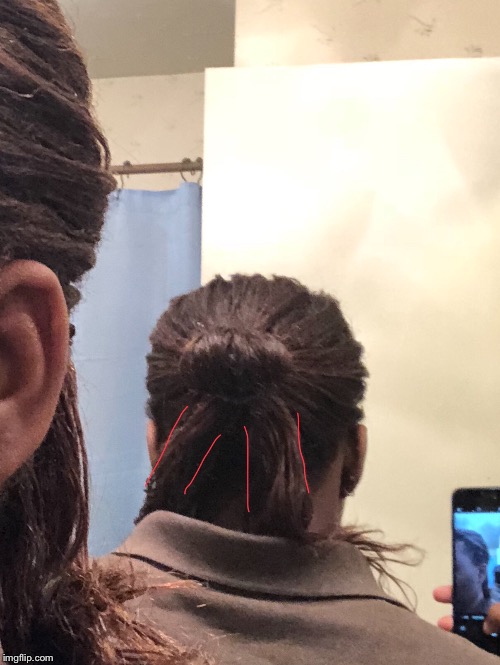 via Imgflip Meme Generator
Take your parts and wrap one going in one direction, and take the other and wrap it in the opposite direction and tuck the ends. In a motion like this:
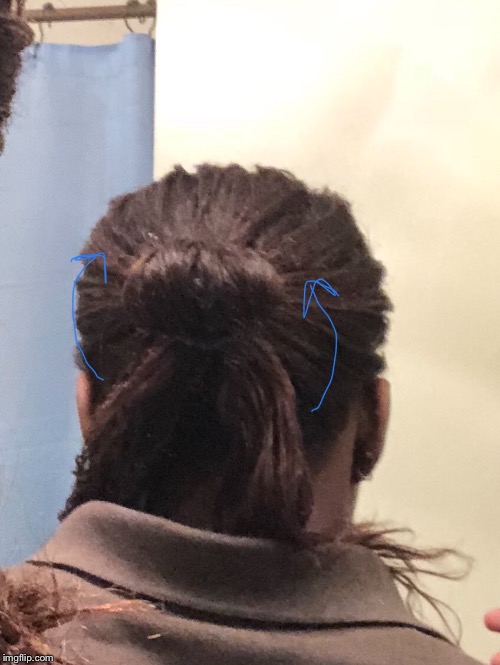 via Imgflip Meme Generator
Play around with how loose or tight you want the wrapped parts to be. And if you need to secure it with bobby pins, as always, please do so. If your hair stays on it’s own then that’s fine too.
You should have something like this:
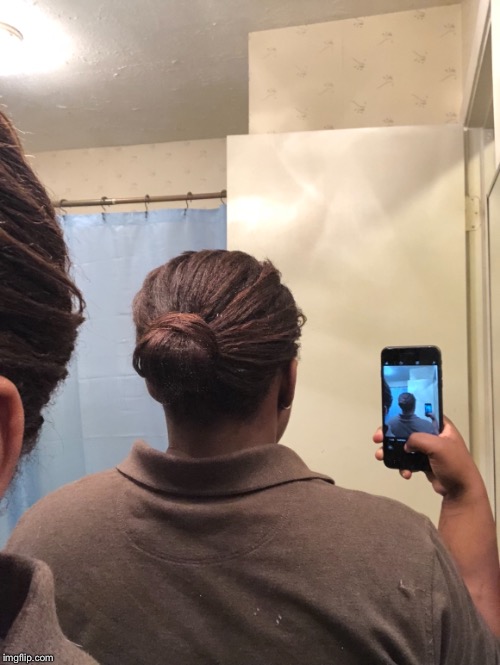 via Imgflip Meme Generator
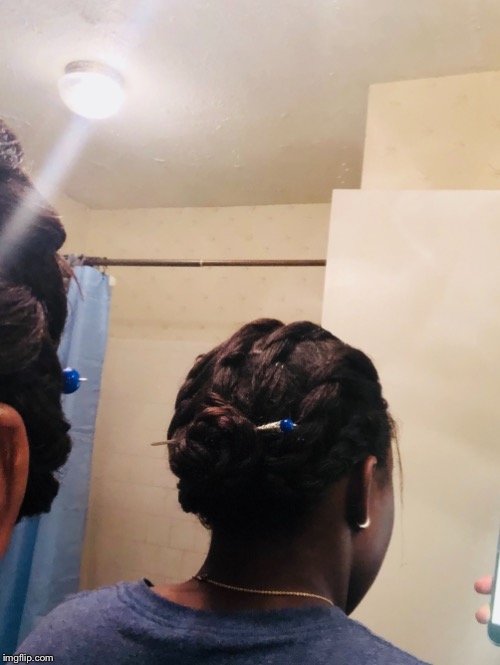
And as usual if you want to add a stick or fork, make sure to put it behind your bun. Like this:
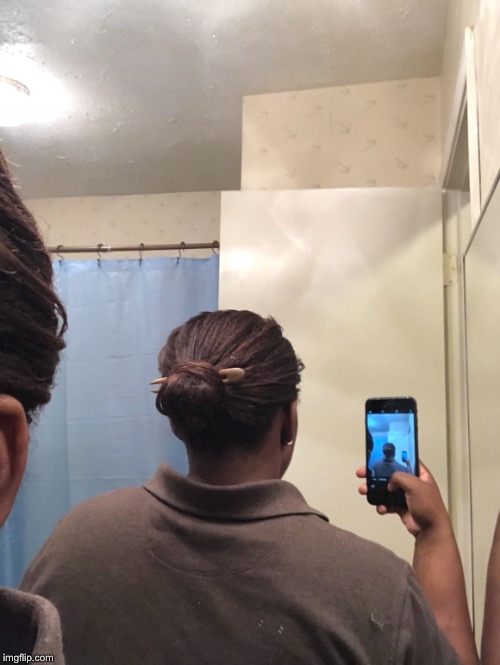 via Imgflip Meme Generator
This cameo bun I did was rushed, but I’m sure you guys can make better ones than mine lol.
**********************
Few notes:
•For the natural ladies, if your shrinkage is serious, find whatever product you like/use that can stretch out your hair a bit. It doesn’t need to be as stretched out as possible, but enough so that you have enough hair to form your bun. If you have no problems with your shrinkage, or you can make your buns just fine, ignore this bit, by all means.
• PLEASE don’t try to make these buns on sopping wet hair. They won’t stay put and breakage is probably guaranteed. Damp hair is fine, just gauge what’s comfortable for you.
• for the relaxed ladies, it’s recommended that you try not to make buns too tight, espeacially prior to or right after a relaxer just to keep your scalp calm.
•If you’re experiencing breakage, either stop completely, or loosen up your grip on your hair. If you’re still experiencing breakage, assess whether you need a treatment. Whether it’s more moisture, or protein. And try again at a later time.
• If you’re experiencing snags, tangles, or small bits of hair pulling, take your time, start over if you have to, and detangle if needed, or move your hair around to where it comfortable, or replace whatever hair accessory to a comfy spot where there’s no excessively tight tension.
• Be gentle, Be, Gentle, Be gentle. Please. Espeacially if you’re a fine haired lady like myself.
•If your hair is at a length where you don’t have enough hair just yet, try modifying certain steps. For the Nautilus, try taking out the step where your wrap your hair around your fingers, and form only one loop and then secure with whatever is comfortable. For the LWB see if you can make at least one wrap around and then secure, or whatever modification if easier for you.
•Above all else, if any style isn’t working for you, DONT FORCE IT. There’s nothing set in stone, and this is just for enjoyment and trying new styles. If you can’t seem to get it, keep trying, if you still can’t, big whoop, maybe you’ll get it next time when you back around to it. It took me 6 months to get the Nautilus Bun down pat. So see what works for YOU. Okay? Lol
I think that’s it for this post ladies. These buns are pretty much very basic buns, that can be modified and they’re the easiest to learn and the quickest to make. They also suit shorter lengths as well.
If anything seems confusing or you need more info just ask away, I’ll try to help as much as possible, other than that please experiment and see what else you come up with, I’m excited to see what you guys come up with, as I’m sure it’ll be very pretty.
I’ll add 1-2 more basic bun styles, and then add 2-3 more braided/twisted bun styles. Over the course of the month or next month.
 via Imgflip Meme Generator
 via Imgflip Meme Generator
 via Imgflip Meme Generator
 via Imgflip Meme Generator
 via Imgflip Meme Generator
 via Imgflip Meme Generator
 via Imgflip Meme Generator
 via Imgflip Meme Generator
 via Imgflip Meme Generator
 via Imgflip Meme Generator